• Skip to primary navigation
  • Skip to main content
High Desert Table

High Desert Table

Your everyday guide to Southwestern cooking

  • Home
  • Recipes
  • About
  • Shop
  • Private Events
  • Contact
  • Show Search
Hide Search

dinner

Caramelized Onion & Red Chile Gravy

Marianne Sundquist · November 18, 2024 · Leave a Comment

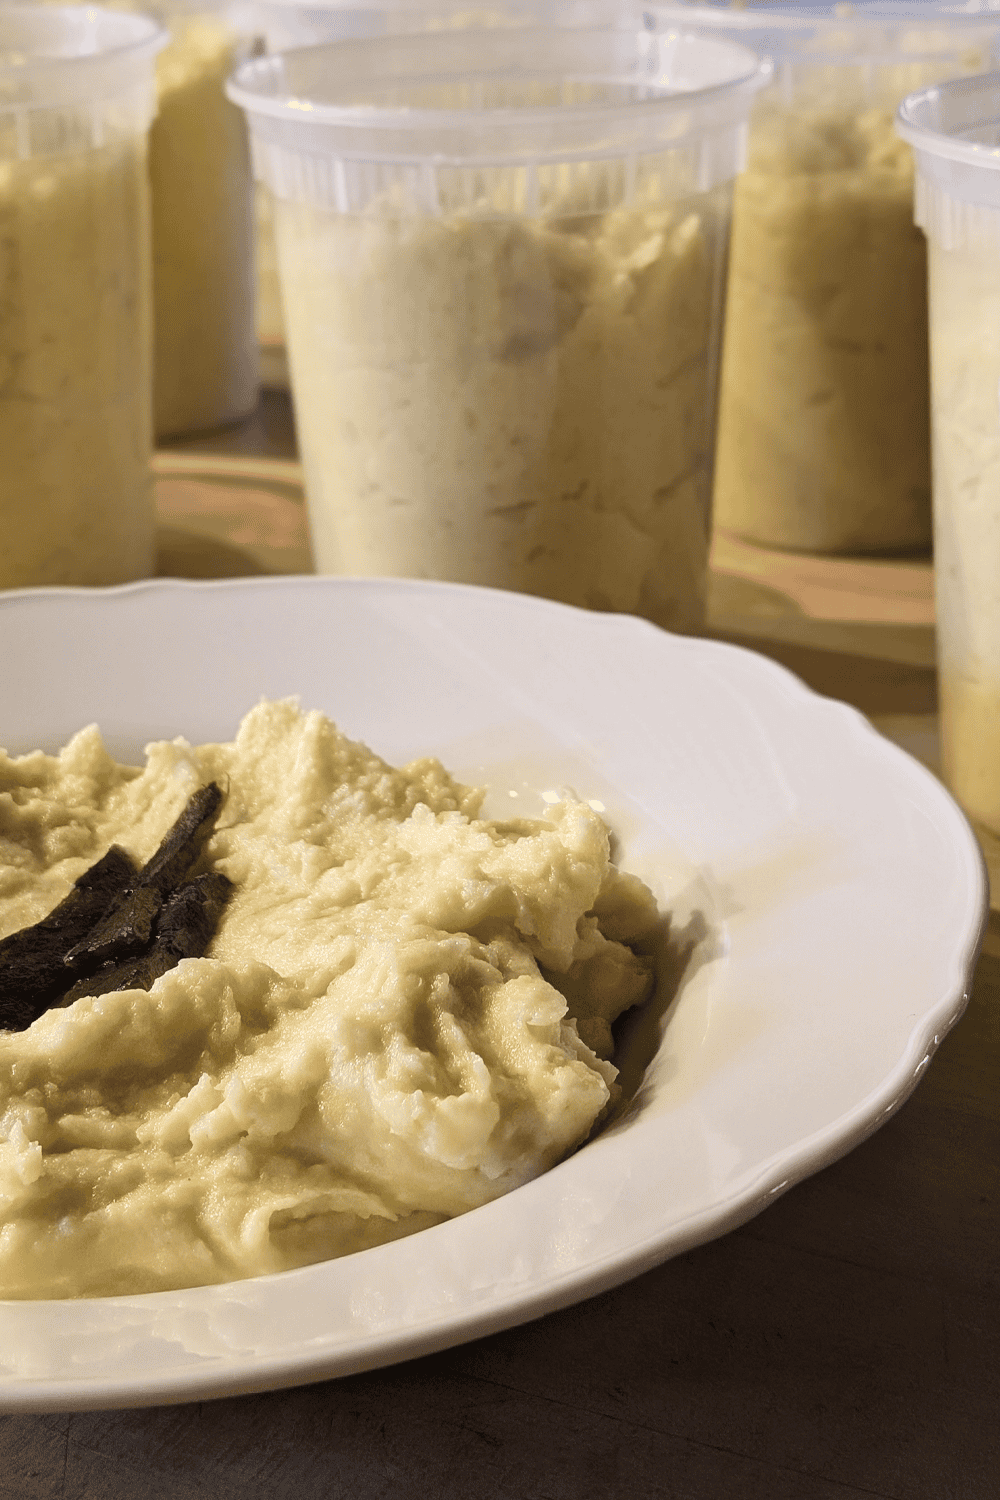
Since the Thanksgiving season is upon us, I wanted to share my favorite way to approach a Southwest-themed red chile gravy. Very simply, it’s to make it the day before.

Why Make Gravy Ahead of Time?

When the turkey comes out of the oven the last thing I want to deal with is extra dishes, straining, scraping, and whisking on the fly. There are many cooks that don’t mind this and sometimes I daydream about being one of them. But the truth is, if it can be done ahead of time when there’s a lot going on in the kitchen, that’s exactly what you’ll find me doing. I’d rather be snacking from the cheese and veggie platter, tidying up the kitchen, or pouring guests drinks.

Don’t Waste Those Drippings

However you cook your turkey, I would recommend not letting any of the drippings go to waste. You can easily scrape them with a heatproof rubber spatula into a container and use them to make soup over the next couple of days.

For this recipe, you really have a few options: you can follow this recipe as is, you can make this recipe using only the turkey neck (usually found in the inside cavity of most birds) and then whisk in turkey jus from the roasting pan after the turkey comes out of the oven, or you can make this gravy vegetarian by leaving out the turkey and using vegetable broth which by the way, is delightful on top of mashed potatoes.

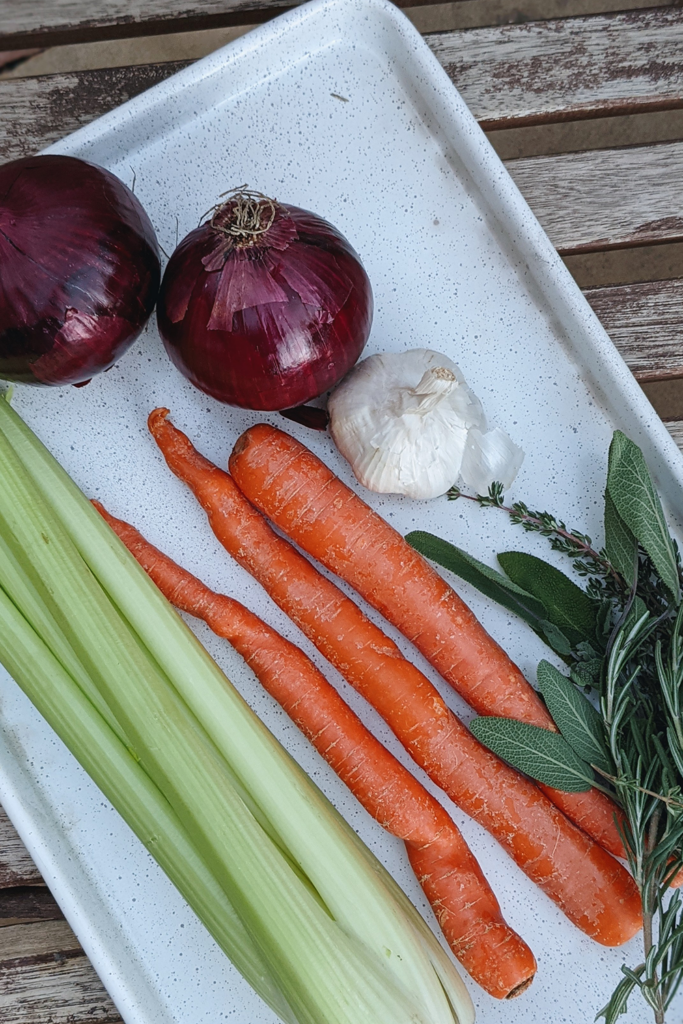
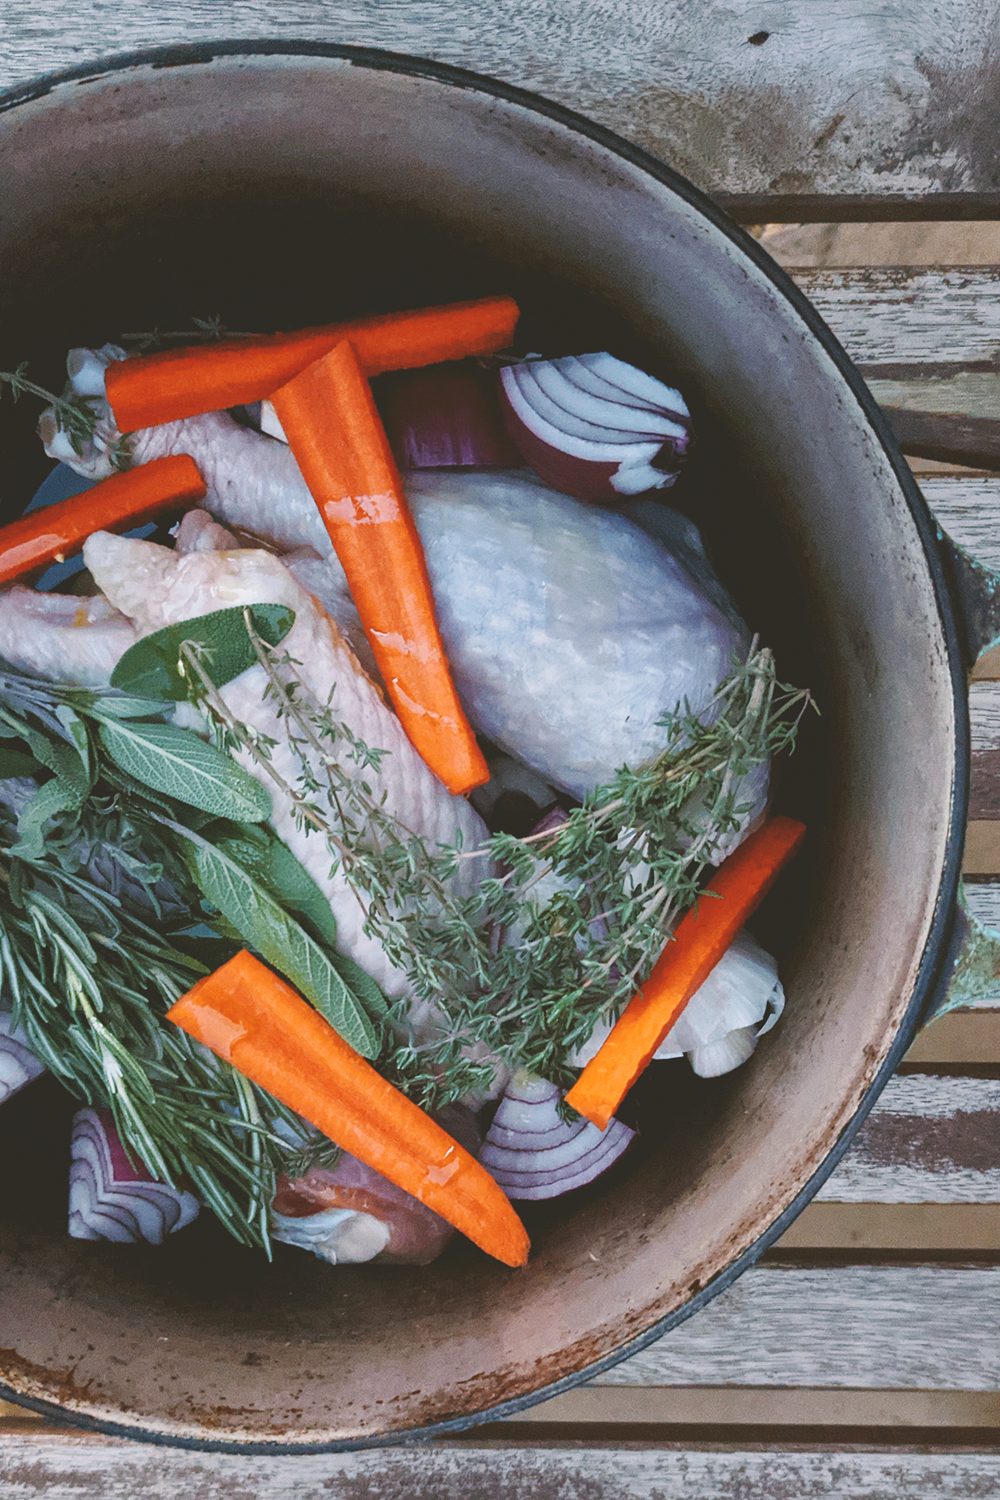
 Red Chile Gravy Ingredients carrots, onions, and herbs
Print

Caramelized Onion & Red Chile Gravy

Caramelized Onion & Red Chile Gravy Ceramic Bowl
Print Recipe
Pin Recipe

5 Stars 4 Stars 3 Stars 2 Stars 1 Star

No reviews

This make-ahead red chile gravy, made with homemade turkey stock, is the ultimate stress-free Thanksgiving side. Made with New Mexico red chile and caramelized onion, it’s perfect for topping mashed potatoes in your Southwest Thanksgiving dinner.

  • Author: Marianne Sundquist
  • Prep Time: 30 mins
  • Cook Time: 1.5 hours
  • Total Time: 2 hours
  • Yield: 6 cups
  • Category: Fall
  • Method: simmer
  • Cuisine: New Mexican

Ingredients

Units

for the turkey stock:

  • 2 turkey wings
  • 2 turkey legs
  • turkey neck if it’s inside your turkey
  • 1 red onion, quartered
  • 2 large carrots, quartered
  • 1 head of garlic, cut in half
  • Small handful of fresh herbs (any combo of sage, rosemary, parsley and/or thyme)
  • 1 T. olive oil
  • Crack of sea salt and pepper
  • 8 c. of chicken or turkey broth

for the gravy:

  • 8 T. butter
  • 1 large red or yellow onion, diced
  • 1/2 c. all-purpose flour or arrowroot powder
  • 1–2 t. red chile powder, depending on heat and preference
  • prepared turkey stock (around 6 c.)
  • Salt and pepper to taste

Instructions

Preheat the oven to 425 F. Dry turkey legs and the wing and neck (if you found one inside your bird) with a paper towel and place them in a deep dutch oven-style pan.

Caramelized Onion & Red Chile Gravy Ingredients in a dutch oven

Add the onion, carrots, garlic, herbs, olive oil, sea salt and pepper. Toss everything together and roast in the oven for 45 minutes, or until a thermometer inserted into the thickest part of the leg reads 165 F.


Carefully move dutch oven to the stovetop over medium heat. Add the broth and bring to a simmer. Using a wooden spoon, scrape any and all caramelized bits from the bottom of the pan. Let this simmer for 30 minutes. Using tongs, remove the turkey leg and wings for snacking and strain the broth through a fine mesh strainer.


To make the gravy, keep the dutch oven on the stove and turn the heat to medium. Melt the butter and add the onion. Let the onion cook in the butter until it’s caramelized, around 20 minutes.


How to Make a Perfect Roux


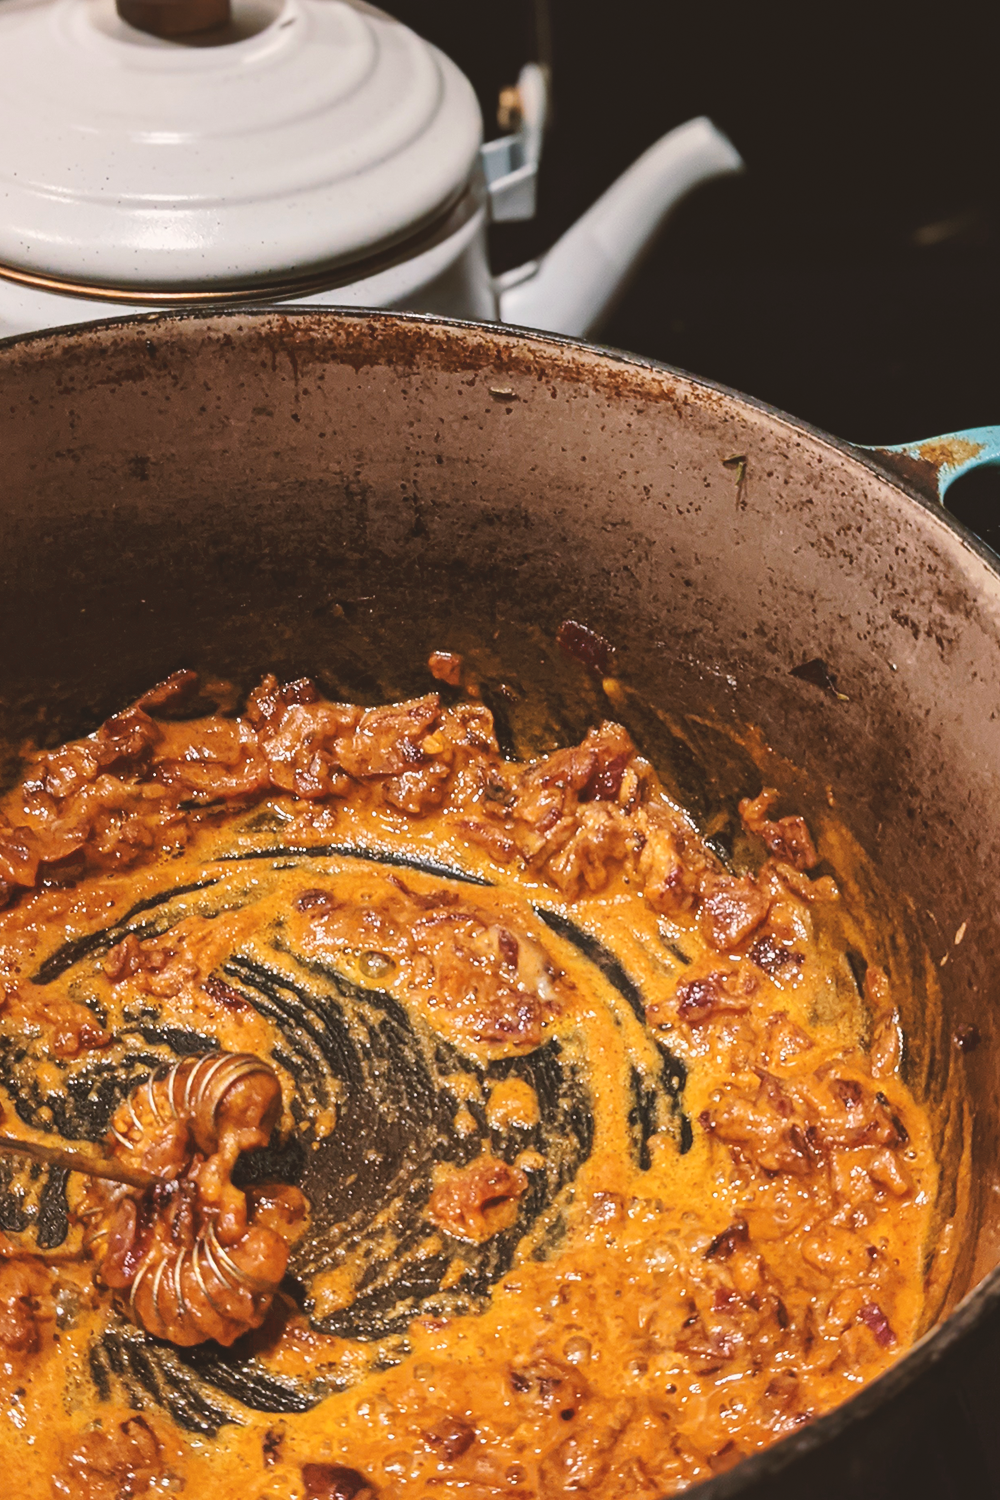
Whisk in the flour (or arrowroot) and chile powder. Take a minute or two to whisk this mixture (also called a roux) over the heat. While continuing to whisk, pour in the prepared turkey stock. I stay close to the stove at this point and continue to whisk frequently as the gravy comes to a simmer and thickens.

Caramelized Onion & Red Chile Gravy Whisking the Roux

Let the gravy simmer for around five minutes. Taste and add salt and pepper to taste. Let cool to room temperature before transferring to a container in the fridge. When ready to serve, warm gravy in a saucepan over medium heat.

Did you make this recipe?

Tag @highdeserttable on Instagram so we can cheer you on! 🌟

Nutrition values are estimates only. See the disclaimer here.

Fire-Roasted Green Chile Risotto

Marianne Sundquist · June 29, 2024 · Leave a Comment

There are few things I love to cook more than risotto. Honestly, I can’t think of anything else except fresh pasta or a summer pie. And I guess what I mean is, that no part of making this Italian rice feels like a chore. Rather more of a gift. When else in the course of a day do you have the chance to stand still and watch simmering rice bloom in warm, buttery broth? Usually, once during the cooking process, I can’t help but think that a pot of risotto cooking on the stove resembles a hungry baby. It’s a hilarious and delightful thought. And I continue on, feeding it one ladle of broth at a time until at last the rice is tender and ready to be finished with parmesan and fresh whipped cream.

You’ll notice this recipe calls for fire-roasted green chiles. There’s a lot of room for interpretation and personal preference here. I rummaged around in my freezer and used a mix of fire-roasted Sandia and poblano chiles. First and foremost, you can use the chiles that you have. If you don’t have a stash in the freezer, don’t despair! You can use frozen green chiles available in most grocery stores in the state (just defrost and drain) or you can buy Anaheim or Poblano chiles and blacken them over a grill or in the oven and then peel the skin off. 

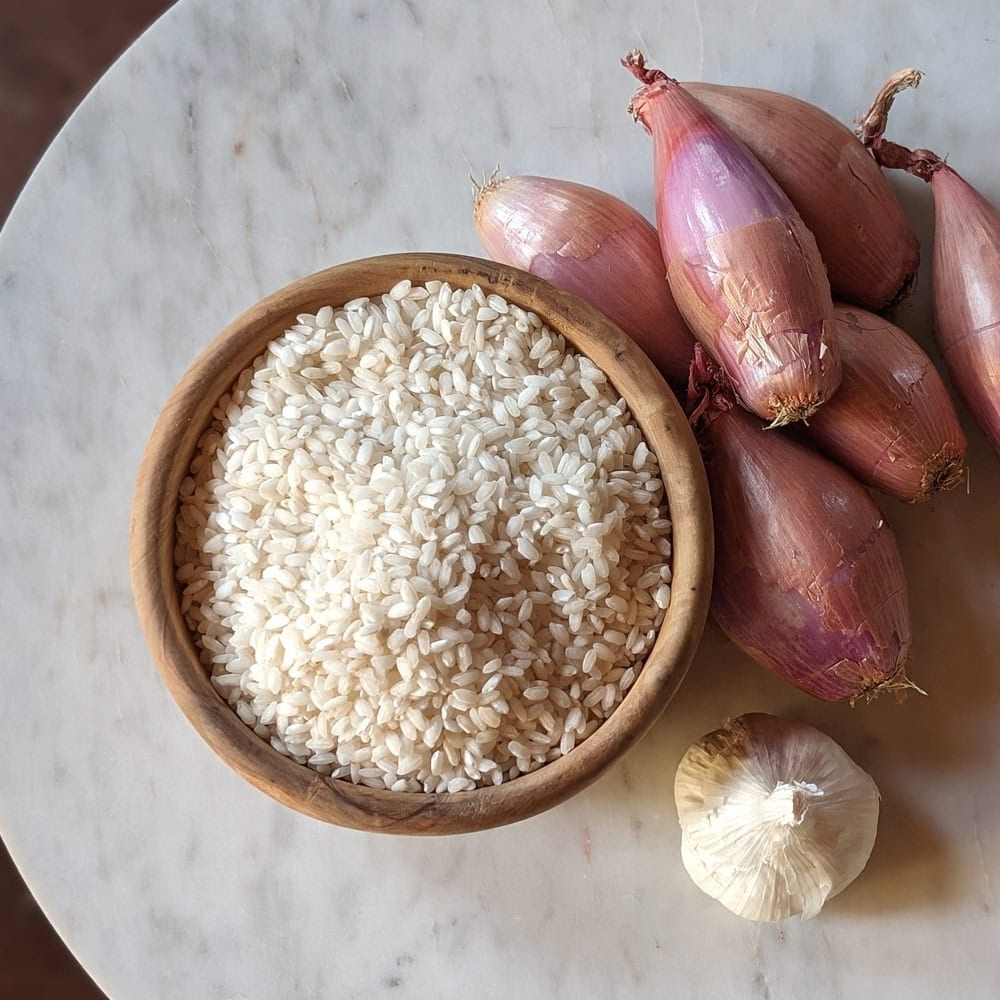
Green Chile Risotto Ingredients

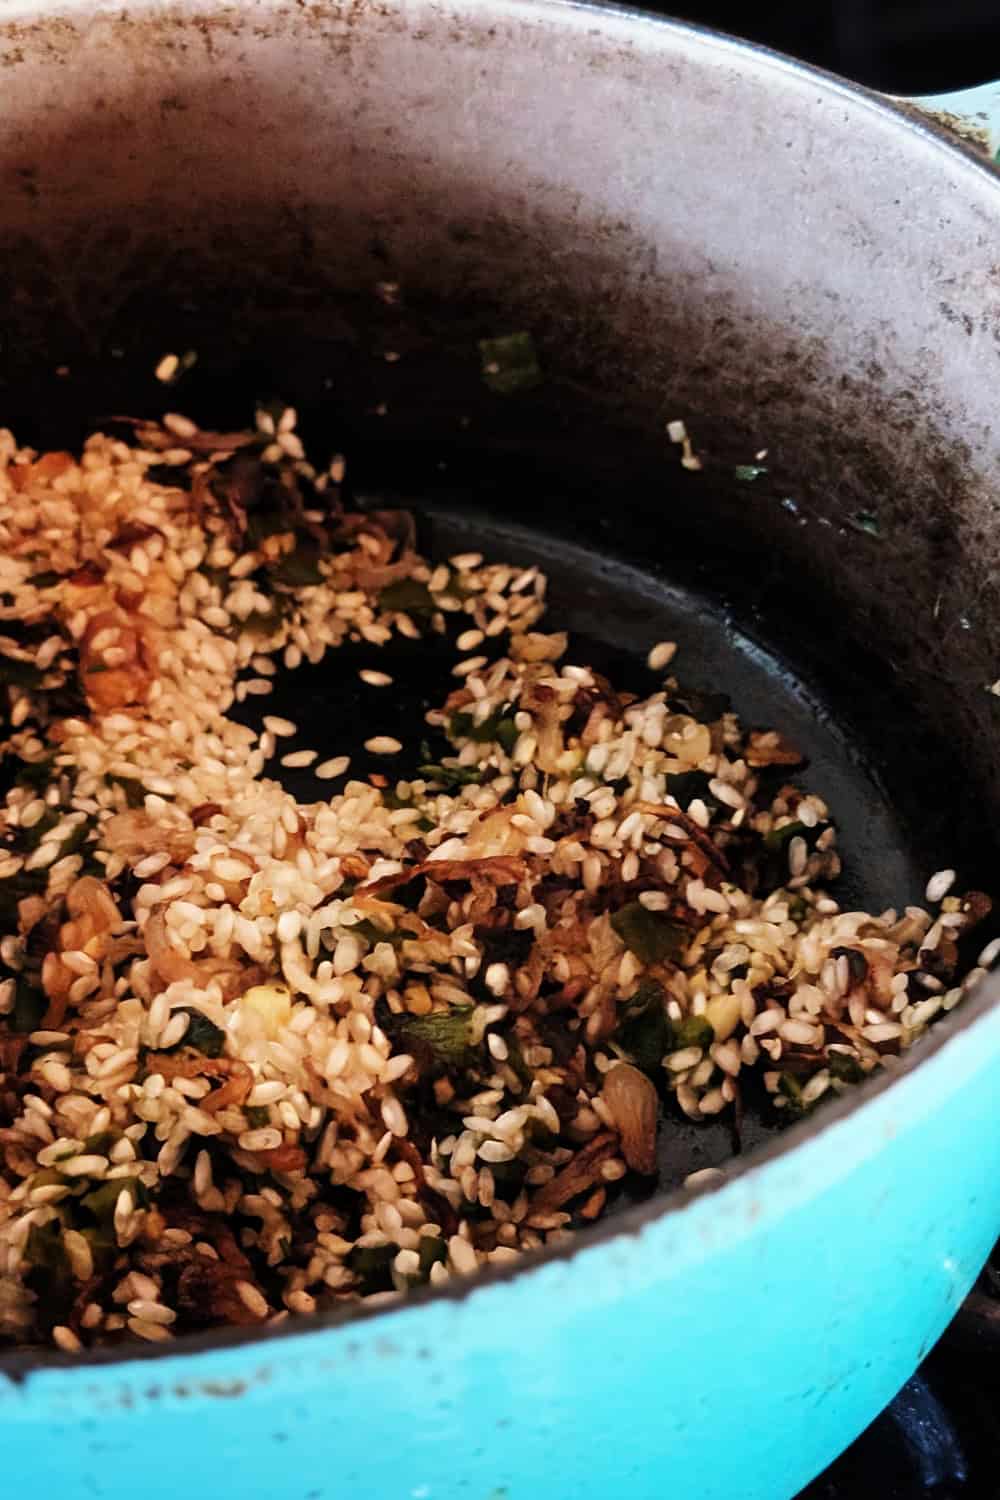
This is a recipe where each detail matters. I like to gather all of my ingredients ahead of time so the cooking flow feels pleasant and easy. Oh, the joy of mise en place never disappoints. In the recipe, you’ll notice that we toast the rice for around four minutes in the pot before adding liquid. This step creates a barrier around each grain of rice, allowing it to absorb liquid slowly and retain its texture without becoming sticky.

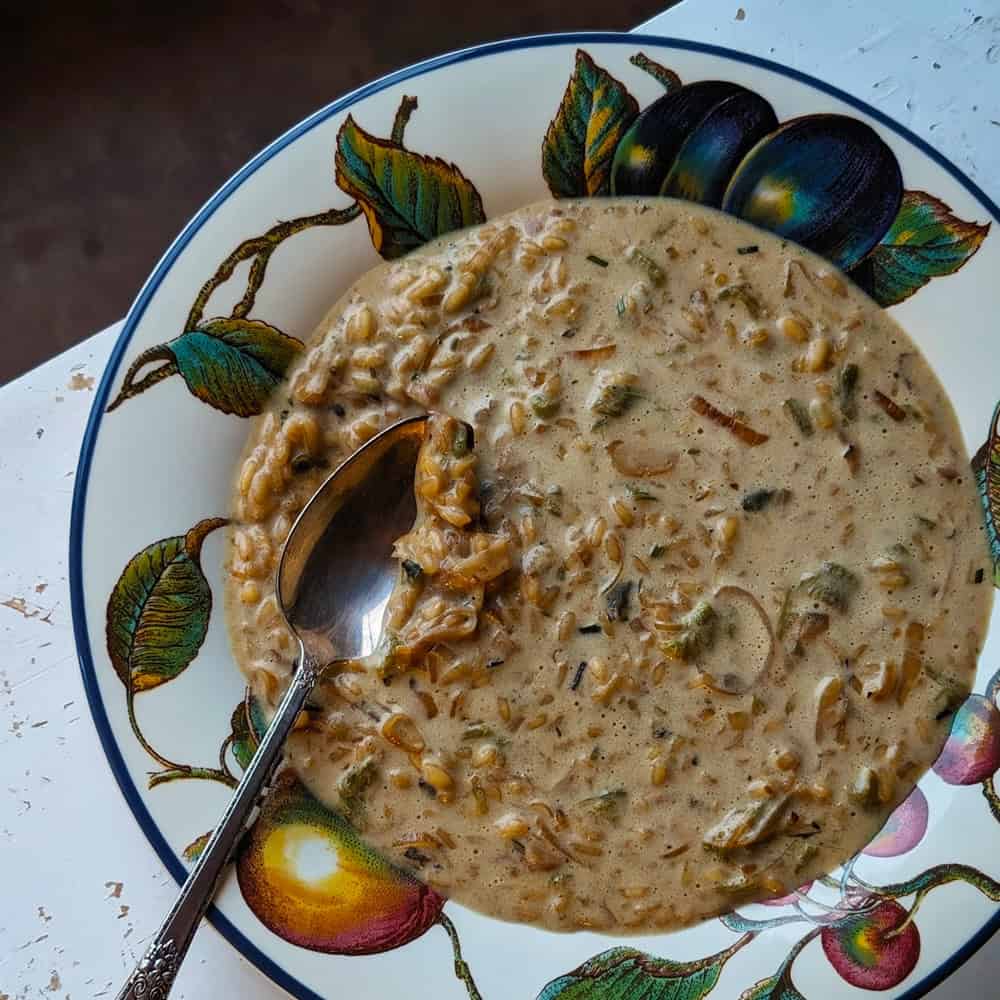
This risotto can be served on its own (preferably on a warm flat plate), or paired with roasted wild mushrooms, roasted vegetables, and a variety of fish or meat. It can be served as a side but is perfectly delightful as the entire dinner.

Print

Fire-roasted green chile risotto

Green Chile Risotto in a bowl
Print Recipe
Pin Recipe

5 Stars 4 Stars 3 Stars 2 Stars 1 Star

No reviews

Discover the joy of making the perfect risotto with fire-roasted green chiles. This risotto can be served on its own, or paired with roasted wild mushrooms, roasted vegetables, and a variety of fish or meat. It can be served as a side dish but is perfectly delightful for the entire dinner.

  • Author: Marianne Sundquist
  • Prep Time: 45 mins
  • Cook Time: 45 mins
  • Total Time: 1.5 hours
  • Yield: 6 servings
  • Category: dinner
  • Cuisine: italian

Ingredients

Units
  • 8 T. butter, divided
  • 6 c. vegetable or chicken broth
  • 6 large shallots, sliced
  • 4 cloves garlic, finely chopped
  • 2 T. fresh rosemary leaves, finely chopped
  • 1/2 c. fire-roasted green chiles, peeled, seeded and chopped
  • 2 c. arborio or carnaroli rice
  • 1 c. dry white wine
  • 1 1/2 c. freshly grated parmesan cheese
  • 1 c. heavy cream, whipped to stiff peaks
  • Salt and pepper, to taste

Instructions

Making the broth

In a large saucepan over medium heat, add 4 Tablespoons of butter. Keep a close eye on it as it melts, then foams then starts to turn a golden brown. Once the butter has turned a deep golden brown (but not burned), very carefully whisk in the broth. Be careful because it will steam. Season lightly with salt and pepper. Bring this mixture to a simmer, then turn the heat to low while you prepare the risotto.

Caramelize

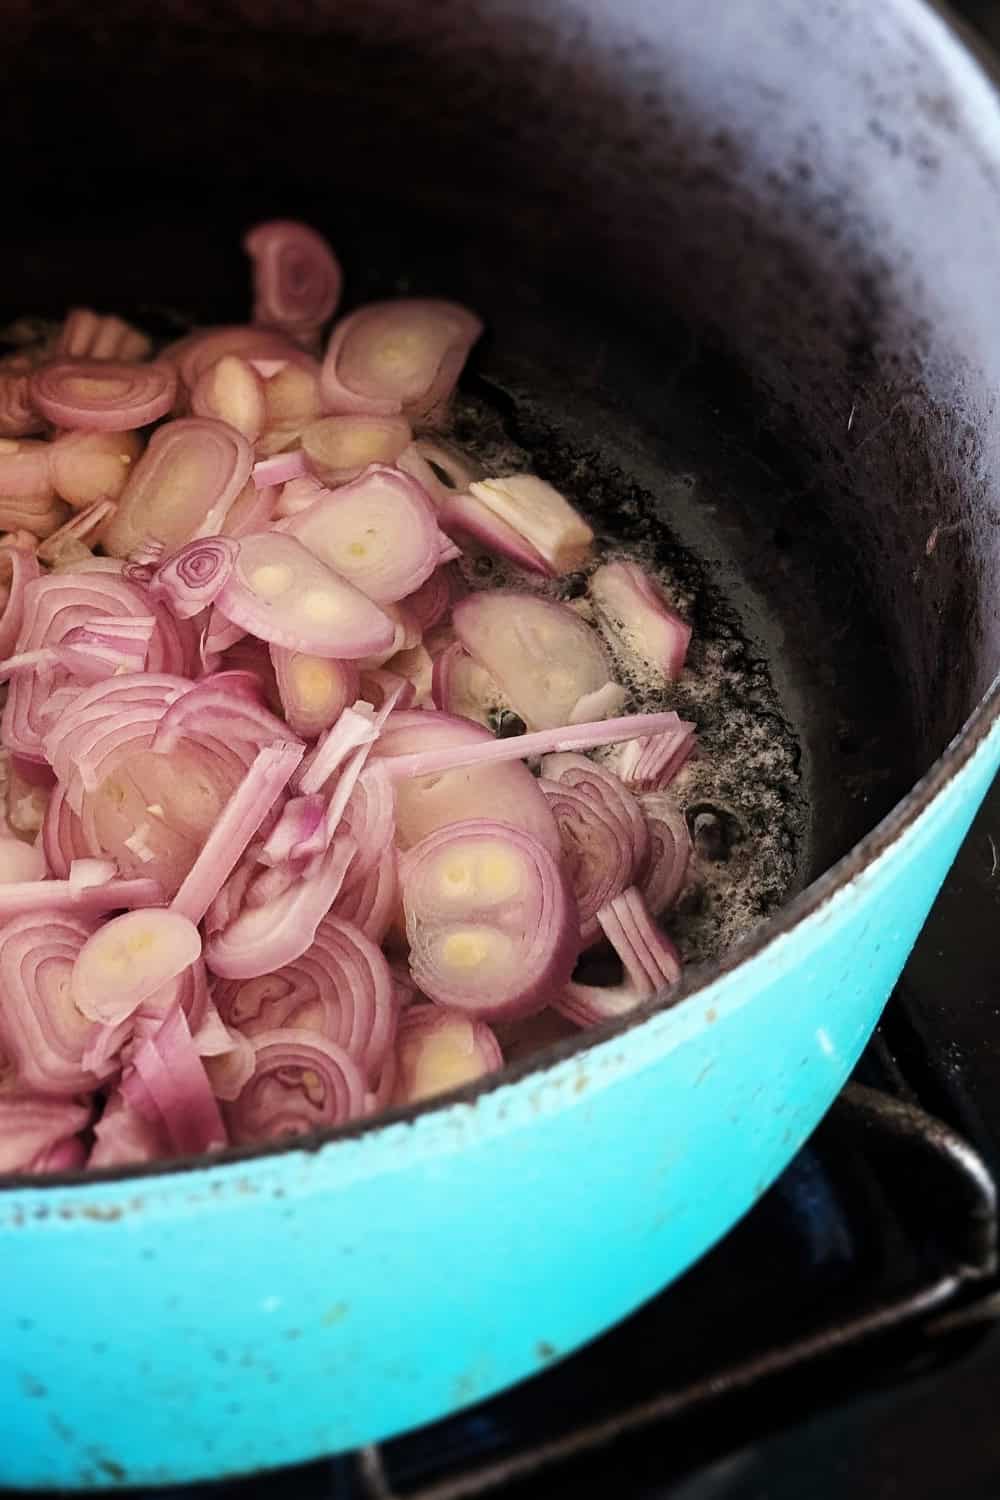
In a large and wide, heavy-bottomed pot over medium heat add the remaining 4 Tablespoons of butter. Once it melts, add the shallots. We are going to let the shallots caramelize, so this will take some time. Let them cook over low heat, stirring frequently with a wooden spoon until they are golden brown. This will take 30-45 minutes. If it seems they are cooking unevenly or you see some dark spots, add a splash of the warm broth to scrape the bottom of the pan and continue cooking the onions until they have fully caramelized.

green-chile-risotto prepping the shallots

Time to toast

Now add the garlic, rosemary, and green chiles. Cook for another couple of minutes. Now add the rice and cook for around five minutes stirring frequently. This is us toasting the rice!

Now carefully add the white wine, scraping any caramelly bits from the bottom of the pot, and let cook until most of the liquid has evaporated.

green-chile-risotto prepping the rice

Adding the broth

At this point, we are going to slowly feed a ladle full of the warm broth to the rice and stir frequently. Over time, the rice will absorb the broth and you can add another ladle and another, continuing to stir and adding broth until the rice has almost fully absorbed all the broth and is “al dente” to the taste, meaning that it is cooked but still retains a bite and definitely not mushy. If you use all the broth and still feel like the rice needs more liquid, feel free to use a little water to finish cooking.

Finishing touch

Add the parmesan cheese, and stir for a minute. Now, right before serving, add the freshly whipped cream. Fold the cream into the risotto with a large heat-proof spatula, letting as much air transfer to the risotto. Give it a taste and add salt and/or pepper as needed.

To serve, spoon the risotto in bowls or large flat plates. If you serve on a plate, spoon the risotto in the center and let it spread towards the edges.

Green Chile Risotto in a bowl

Did you make this recipe?

Tag @highdeserttable on Instagram so we can cheer you on! 🌟

Nutrition values are estimates only. See the disclaimer here.

Green Chile Stacked Enchiladas

Marianne Sundquist · January 24, 2024 · Leave a Comment

It’s a humbling and majestic thing to live in New Mexico as an Italian chef from the Midwest. It’s like landing on a different culinary planet. A planet where flavors transcend, reach deeply into the land and sky, and then reappear in a simmering pot of green chile sauce.

Enchanted lavender

A good example of this is lavender. I mostly had experienced lavender in restaurant kitchens as an unexpected flavor profile meant to wow guests, or by getting a whiff from a lotion or candle in a city shop. For almost twenty years I considered it to be my least favorite smell and taste. Then four years ago I moved to New Mexico. There were two different varieties of lavender in my yard and they smelled nothing like I expected. The high floral notes were grounded with traces of grass and wood, soft musk, and worn leather. The flowers were not alone like I had often seen them. They were part of a family, connected to long green stalks and twisting roots. They were growing next to chives and mint. Honeysuckle grew a few feet away. Sometimes there were other scents too, like roasting chiles and pinion fires wafting around and through wooden fence slats from neighboring yards. In the summer with all these high desert scents bumping and bouncing off each other, for the first time, lavender didn’t just make sense and smell good. I was enchanted. It became one of my favorite flavors of all time.

The Southwest is a melting pot

Because of this interconnected Southwest ecosystem where history, ingredients, landscape, and people meet, learning about New Mexican food feels like an extraordinary gift. With Christmas around the corner, I wanted to share a very special recipe from a very special Chef. Over the past number of months, I have had the privilege of learning about Native New Mexican cuisine from Dr. Lois Ellen Frank and Walter Whitewater through virtual culinary tours hosted by Heritage Inspirations. Lois has spent over 25 years documenting the foods and lifeways of Native American tribes from the Southwest and regions throughout the Americas. In 2007, she started a Native American Cuisine catering company named Red Mesa. I’m so grateful she was willing to share her recipes for Green Chile sauce, Tortillas, and Stacked Enchiladas with us here.

Since the pandemic Red Mesa has gone virtual and is offering hands-on cook-along cooking classes, demonstration-style cooking classes, and holiday family classes, along with a beautiful collection of local food products, cookbooks, and posters available on the website.

“When you cook together as a family, it unifies your bond and calls in the wisdom of the ancestors.”

Lois Ellen Frank
 Lois Ellen Frank and Walter Whitewater
Print

Green Chile Stacked Enchiladas

Green Chile Stacked Enchiladas - Plated with sauce
Print Recipe
Pin Recipe

5 Stars 4 Stars 3 Stars 2 Stars 1 Star

No reviews

Spice up your dinner routine with this easy-to-follow and mouthwatering green chile stacked enchiladas recipe. This authentic recipe features roasted New Mexico or Anaheim Green Chiles, flavorful corn tortillas, succulent rotisserie chicken, and a generous layer of melted Jack Cheese.

  • Author: Marianne Sundquist
  • Prep Time: 1 hour
  • Cook Time: 30 mins
  • Total Time: 1.5 hours
  • Yield: 10-12 servings
  • Category: Dinner
  • Method: Bake
  • Cuisine: New Mexican

Ingredients

Units

For the Green Chile Sauce: 

  • 6 cups New Mexico or Anaheim Green Chiles, Roasted, Peeled, & Chopped
  • 1 28 oz can chopped tomatoes
  • 1 Tablespoons Sunflower Oil
  • 1 Medium White Onion, diced (approximately 2 cups)
  • 1 Tablespoon chopped garlic (approximately 6 to 8 cloves)
  • 2-teaspoons kosher salt
  • 1/4 teaspoon freshly ground black pepper
  • 2 cups water


For the Corn Tortillas: 

  • 3 cups Corn Masa Flour for Tortillas (this can be found in your supermarket in the Latin food section)
  • 1 1/2 teaspoons kosher salt (or to taste)
  • 1 1/2 cups warm water


For the Enchiladas: 

  • 1 Rotisserie Chicken, (meat picked from the bones)
  • 4 3/4 cups Jack Cheese, grated

Instructions

Make the Green Chile Sauce

Using the open flame method, roast the green chiles until completely charred and then place in a glass or metal bowl covered with plastic wrap to allow the chiles to sweat and cool down. Once the chiles have cooled, peel, seed, and chop them.

In a medium size saucepan, heat the sunflower oil until hot but not smoking. Sauté the onion over medium to high heat until it begins to brown. About 3 minutes. Add the garlic and sauté for another minute. Add the tomatoes and cook for another 5 minutes stirring to prevent burning. Add the chopped green chile and sauté for another 3 minutes. Add the water and bring to a boil. Reduce the heat and simmer for approximately 15 minutes.

Add the salt and pepper to taste. Remove from heat.

In a blender place half the sauce and blend on high for several minutes until completely smooth. Return the blended mixture to the saucepan with the unblended sauce. Makes approximately 2 ½ quarts sauce for the enchiladas with some sauce on the side.


For the Corn Tortillas

In a medium-sized mixing bowl, combine the corn flour, salt, and water and mix together until you have formed a dough. You can do this with a spoon, but I always use my hands. After the ingredients are completely mixed, use your hands to form balls just smaller than a golf ball and set aside. Preheat your seasoned cast iron skillet so that it is very hot.

In a tortilla press, place one ball in the center of the tortilla press and press together to make one corn tortilla. I use a plastic bag that I cut in half leaving a seam on one side so that I can place the corn masa ball inside the plastic so that it doesn’t stick to the tortilla press. Remove the tortilla from the plastic place it on the cast iron skillet and cook the first side of the tortilla for 30 to 45 seconds, then turn it over and cook for approximately 30 to 40 seconds and cook until it puffs and that is the sign that the tortilla is done.

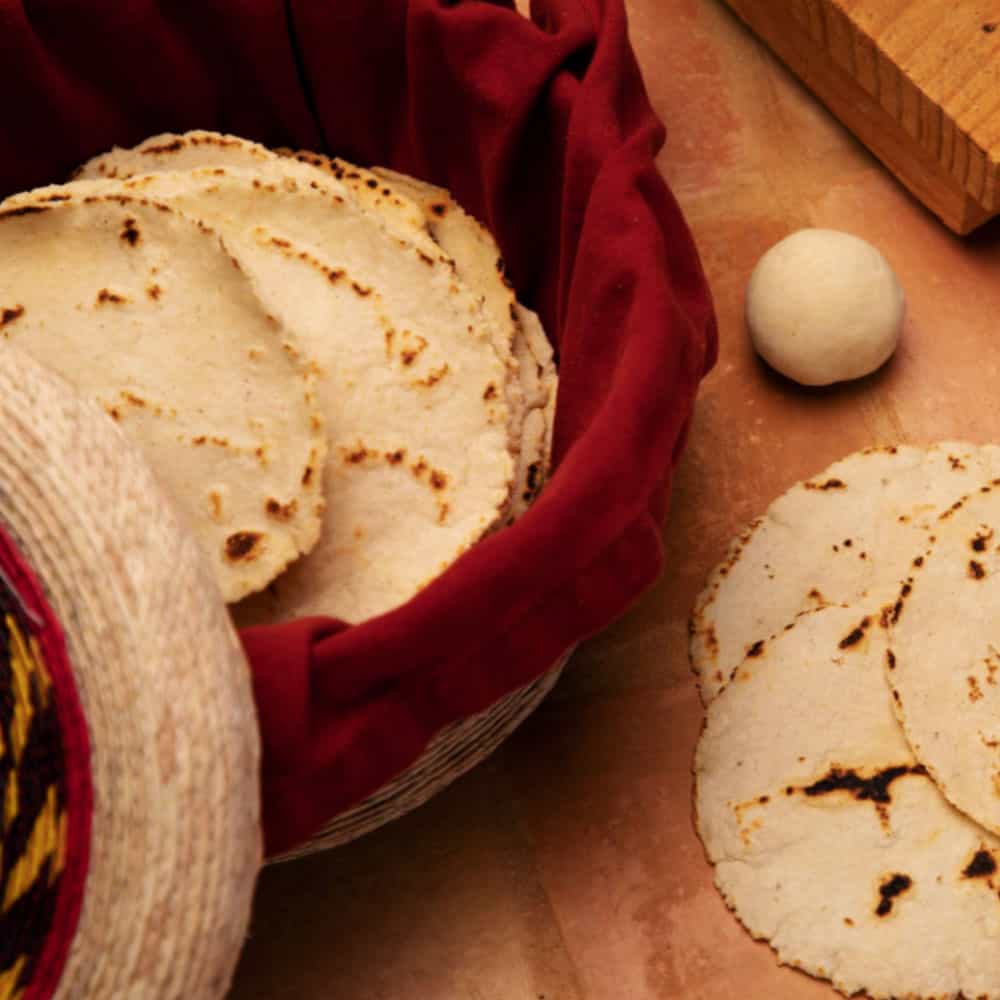
Place the cooked tortilla in a kitchen towel inside a basket or bowl and prepare the next tortilla following the same steps. Stack the tortillas on top of each other to keep them warm inside the towel. Makes approximately 21 tortillas.

Homemade Tortillas in a bowl

Bake

Preheat your oven to 350 degrees. In a casserole pan or half-hotel pan, layer some green chile sauce to cover the bottom of the pan. Place tortillas on top of sauce (approximately 7 tortillas). Spoon more of the green chile sauce on top of the corn tortillas. Evenly place 1/3 the amount of shredded cooked chicken on top of the green chile sauce and then top with 1 ½ cups of the shredded jack cheese.

Begin another layer. First the corn tortillas (approximately 7 tortillas). Spoon some green chile sauce on top of the tortillas. Evenly place the second 1/3 of the shredded cooked chicken on top of the sauce. Top with another 1 ½ cups of the shredded jack cheese.

Begin the final layer. Place the corn tortillas on top to start the next layer (approximately 7 tortillas). Spoon some green chile sauce on top of the tortillas. Evenly place the final 1/3 of the shredded cooked chicken on top of the sauce. Top with the final amount 1 ¾ cups of shredded jack cheese. Place in the pre-heated oven and bake until the cheese browns and you see bubbles on the side of the pan approximately 30 minutes. Serve immediately.

Notes

The bones can be made into chicken stock. Here is a recipe for homemade rotisserie chicken stock.

Did you make this recipe?

Tag @highdeserttable on Instagram so we can cheer you on! 🌟

Nutrition values are estimates only. See the disclaimer here.

This Rotisserie Chicken Stock - in a bowl

Rotisserie Chicken Stock

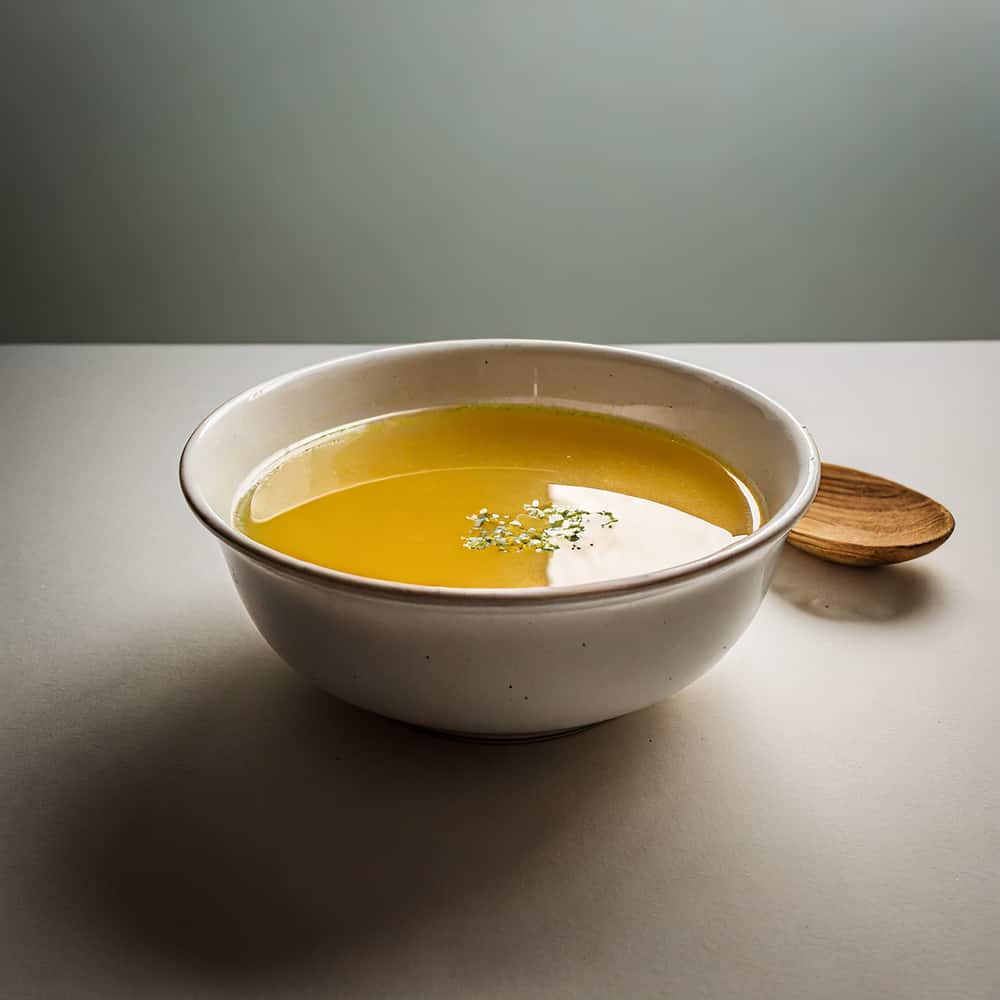
Create a rich and flavorful chicken stock by simmering a leftover Rotisserie chicken with aromatic vegetables, such as onions, carrots, and celery. This Rotisserie Chicken Stock is a savory and versatile base for soups, stews, and sauces.

Get the Recipe

Rotisserie Chicken Stock

Marianne Sundquist · January 6, 2024 · Leave a Comment

This Rotisserie Chicken Stock is a savory and versatile base for soups, stews, and sauces. It’s so easy and simple, there’s not a lot to say. Enjoy!

Print

Rotisserie Chicken Stock

This Rotisserie Chicken Stock - in a bowl
Print Recipe
Pin Recipe

5 Stars 4 Stars 3 Stars 2 Stars 1 Star

No reviews

Create a rich and flavorful chicken stock by simmering a leftover Rotisserie chicken with aromatic vegetables, such as onions, carrots, and celery. This Rotisserie Chicken Stock is a savory and versatile base for soups, stews, and sauces.

  • Author: Marianne Sundquist
  • Prep Time: 30 mins
  • Cook Time: 1 hour
  • Total Time: 1.5 hours
  • Yield: around 8 cups
  • Category: Soups
  • Method: Simmer
  • Cuisine: Essentials

Ingredients

Units
  • Bones from Rotisserie chicken, broken into pieces
  • 1 Tablespoon sunflower oil
  • 1 onion, chopped
  • 3 carrots, loosely chopped
  • 3 celery, loosely chopped
  • 8 cups water

Instructions

  1. In a soup pan, heat oil until hot but not smoking.
  2. Add the onion and sauté the onion until it starts to turn brown approximately 3 to 4 minutes.
  3. Add the carrots and celery and sauté for another 5 minutes, stirring to prevent burning.
  4. Add the chicken bones and cook for another 5 minutes, stirring to prevent burning.
  5. Add the 8 cups of water. Bring to a boil, then reduce heat and simmer for 1 hour.
  6. Strain and discard the contents of the strainer.
  7. Refrigerate for up to 3 days or freeze.

Did you make this recipe?

Tag @highdeserttable on Instagram so we can cheer you on! 🌟

Nutrition values are estimates only. See the disclaimer here.

Heartwarming Turkey Noodle Soup

Marianne Sundquist · November 29, 2023 · Leave a Comment

Recently one of my dearest friends has been sick. I’ve spent more time at the hospital in the last few weeks than ever before and at various points wrestled with feelings of helplessness when all I want is for her to be healed and feeling well. And with all that’s going on in the world, I know I’m not alone.

When times like this rise up, I find myself pulled to the kitchen like a magnet to the side of the refrigerator. What can I do when it seems like there is nothing I can do? I recently read about a teacher, who when asked this question simply answered “I teach”. And I’ve been thinking a lot about this, about how whatever it is we do, can be an act of activism, love, and hope in itself.

So it makes sense that my fifteen-year-old caribbean blue dutch oven has been simmering with stocks and soups for weeks and my freezer is full of simple soups for when my friend comes home. I have been finding clarity and comfort in small things— my boy’s faces when they get in the car after school, my dog sleeping on the couch, laughing with a friend, and the gift of writing recipes for you. What can I do? I can put my hands to work and cook. At the grocery store last week, I saw egg noodles on sale and voila, the idea for this soup was born. This Turkey Noodle Soup is simple, full of gentle yet satisfying flavor, and deeply nourishing.

Flexible Ingredients

You can use leftover turkey meat, but you can also easily swap out the turkey for chicken. To keep things simple, the recipe calls for turkey or chicken broth which can be purchased or made at home. If you are roasting a turkey, please consider saving the bones, which will make a wonderful broth that you can use for this soup: break up the cooked turkey carcass into smaller pieces and in a large pot cover them with cold water. Add a splash of apple cider vinegar, a generous pinch of salt and any vegetable or herb scraps you have available. Bring this to a simmer and let simmer for an hour (or more) before straining.

Also, keep in mind the things you have that can be put to good use in this soup. You can make this without noodles. You can add hearty greens, green beans, potatoes, beans, calabacitas if you have it and if it sounds good to you.

Print

Heartwarming Turkey Noodle Soup

Turkey Noodle Soup - in a ceramic bowl with spoon
Print Recipe
Pin Recipe

5 Stars 4 Stars 3 Stars 2 Stars 1 Star

No reviews

Discover the therapeutic power of cooking in challenging times with this heartwarming Turkey Noodle Soup. Customizable and leftover-friendly, this recipe is full of gentle, yet deeply satisfying flavor.

  • Author: Marianne Sundquist
  • Prep Time: 1
  • Cook Time: 1
  • Total Time: 2 minutes
  • Yield: 8 servings
  • Category: soup
  • Method: simmer
  • Cuisine: American

Ingredients

Units

For the soup:

  • 4 T. butter
  • 1 large yellow onion, diced
  • 5 large celery stalks, diced
  • 4 large carrots, peeled & sliced
  • 4 cloves garlic, minced
  • 1/4 c. fresh herbs (any combination of rosemary, sage, thyme), minced
  • 1 T. azafran
  • 4 c. cooked turkey meat, torn into bite-sized pieces
  • 8 c. turkey or chicken broth
  • 3 c. dried egg noodles
  • Salt and pepper, to taste

For garnish:

  • Sliced spring onions (optional)

Instructions

Turkey Noodle Soup fresh Ingredients in a bowl

Sweating the Veggies

In a large soup pot over medium heat add the butter. Once it melts, add the onion, celery, and carrot and let these vegetables sweat in the pot, stirring frequently so they don’t burn.

Cook and Simmer

After around ten minutes or so, add the garlic, herbs and azafran. Cook for another few minutes. Add the turkey meat and broth. Turn up the heat and bring the soup to a boil, then reduce the heat to a simmer.

Adding the Noodles

After around 20 minutes, the vegetables should be just about tender. Add the dried noodles and cook for 20 more minutes. Add salt and pepper as needed. Garnish with sliced spring onions if you want to add a bit of bright green vegetable crunch.

Did you make this recipe?

Tag @highdeserttable on Instagram so we can cheer you on! 🌟

Nutrition values are estimates only. See the disclaimer here.

  • « Go to Previous Page
  • Page 1
  • Page 2
  • Page 3
  • Page 4
  • Go to Next Page »

High Desert Table

Copyright © 2025 · High Desert Table

  • Privacy Policy
  • Nutrition Disclaimer