
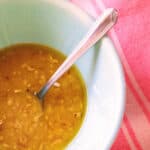
This everyday lemon vinaigrette makes a lunchtime salad simple, it’s easy to grab for dipping raw vegetables in for a snack, sometimes I find myself drizzling some inside a sandwich or in a chicken, tuna, pasta, or grain salad, or on top of all types of grilled vegetables. The bottom line? An everyday vinaigrette is more savvy and useful than it might appear.
winter
New Mexican Sipping Chocolate

Indulge in a cup of our Southwestern Sipping Hot Chocolate, inspired by the rich history of this ancient beverage. Chocolate, derived from the cacao bean, holds a storied past, cherished by ancient civilizations like the Mayans and Aztecs who believed it possessed mystical and energizing properties. We pay homage to this tradition by infusing our hot chocolate with a simple combination of chiles and cinnamon with a touch of southwestern flavors.
Pan-Seared Steak Method
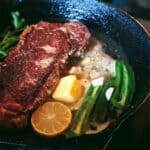
This method will teach you how to cook a mouth-watering pan-seared steak indoors in a cast iron pan. When I don’t have a grill, this is hands down my favorite technique for cooking a well-seasoned steak.
Everyday Southwest Stew
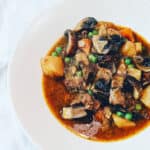
This simple recipe for everyday stew allows for almost endless variations while keeping a Southwestern style at its core.