
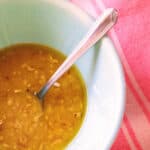
This everyday lemon vinaigrette makes a lunchtime salad simple, it’s easy to grab for dipping raw vegetables in for a snack, sometimes I find myself drizzling some inside a sandwich or in a chicken, tuna, pasta, or grain salad, or on top of all types of grilled vegetables. The bottom line? An everyday vinaigrette is more savvy and useful than it might appear.
fall
Mushroom, Poblano & Goat Cheese Frittata
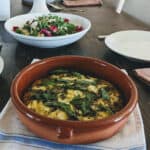
If you’re ever tasked with making breakfast, brunch or lunch for a crowd, this frittata recipe might be right up your alley. I’m not sure it gets easier than this. No eggs cooked to order. The vegetables can be easily cooked the day before, and all that’s required is a quick whisk of the eggs, a sprinkling of vegetables and cheese before throwing it in the oven for less than a half hour and voila!
Everyday Southwest Stew

This simple recipe for everyday stew allows for almost endless variations while keeping a Southwestern style at its core.