
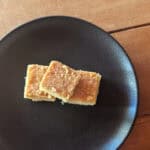
These buttery herb shortbread cookies are delicately sweet with a hint of salt and herbs. Baked in a sheet pan and finished with flaky sea salt and sugar, they’re melt-in-your-mouth rich, easy to make, and perfect for gifting or cookie exchanges.
dessert recipes
Homemade Danish Apple Kringle
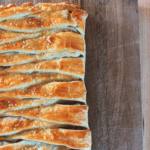
Learn how to make a delicious and easy homemade Danish Apple Kringle with this simple recipe. This classic Danish pastry is flaky, buttery, and perfect for any occasion.
Pumpkin Spice Cupcakes
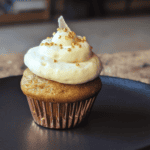
There is no better time to make these Pumpkin Spice Cupcakes frosted with a light and airy whipped cream, and cream cheese frosting. They make great gifts for neighbors and friends and turn any day into a celebration of fall.