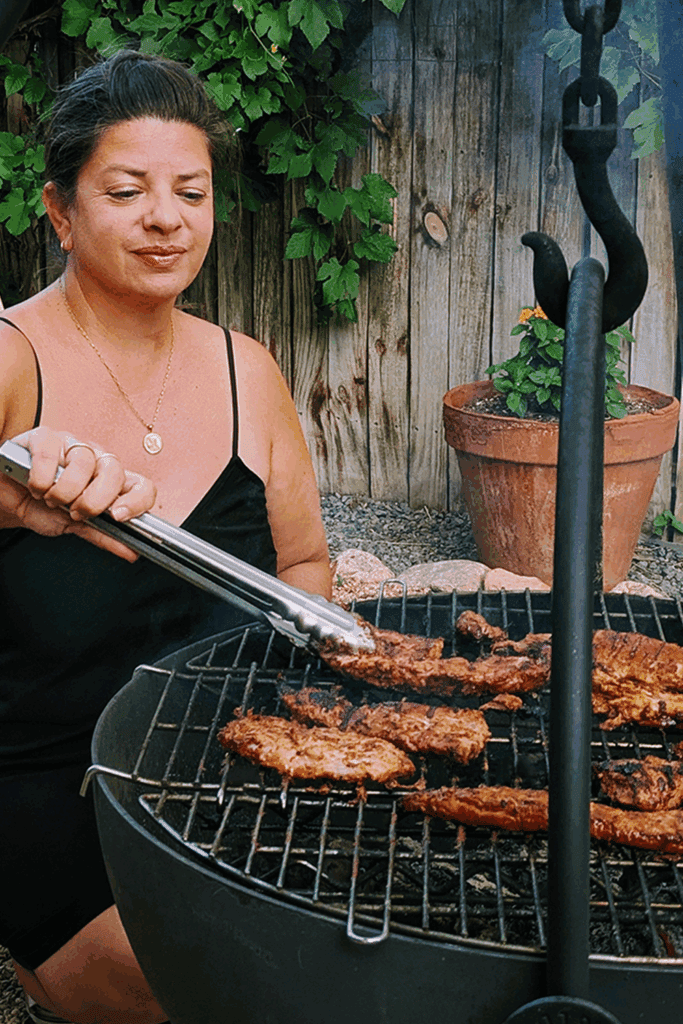
Grill season is here, and I notice it changes how I think about meals for the week. What can we grill up on the Cowboy Cauldron so we don’t have to think about cooking for a while, is how it sounds in my head. This recipe for Grilled Pork and Pineapple Tacos will fly at any kind of party, but also last a few days for a single household. It takes a little time to make the ancho marinade, but it should be noted that this component can easily be doubled or even tripled (with very little extra time added) and then put in containers in the freezer for other cooking scenarios in the future, like rubbing over a whole chicken before roasting, or marinating beef or chicken.
The Inspiration: A Nod to Tacos Al Pastor
This recipe is completely inspired by my love of Tacos Al Pastor, a method of taco making that came to life in the 1930s in Puebla, Mexico, when Lebanese immigrants introduced their shwarma-making, vertical cooking spits to the area. Eventually, lamb turned to pork marinated in chiles and anchiote, the earthy, slightly peppery seed of the evergreen Bixa orellana shrub, which gives cheese, Cochinita Pibil Tacos, and Tacos Al Pastor their distinct orange color.
There is something magical that happens when cooking meat on a vertical spit. There is also something magical that happens when I cook anything on the Cowboy Cauldron.
You’ll notice that you can either use thinly sliced pork shoulder (the classic choice) or pork tenderloin. The tenderloin is a leaner cut and holds the marinade well.
The Power of Pineapple & Fire-Roasted Chiles
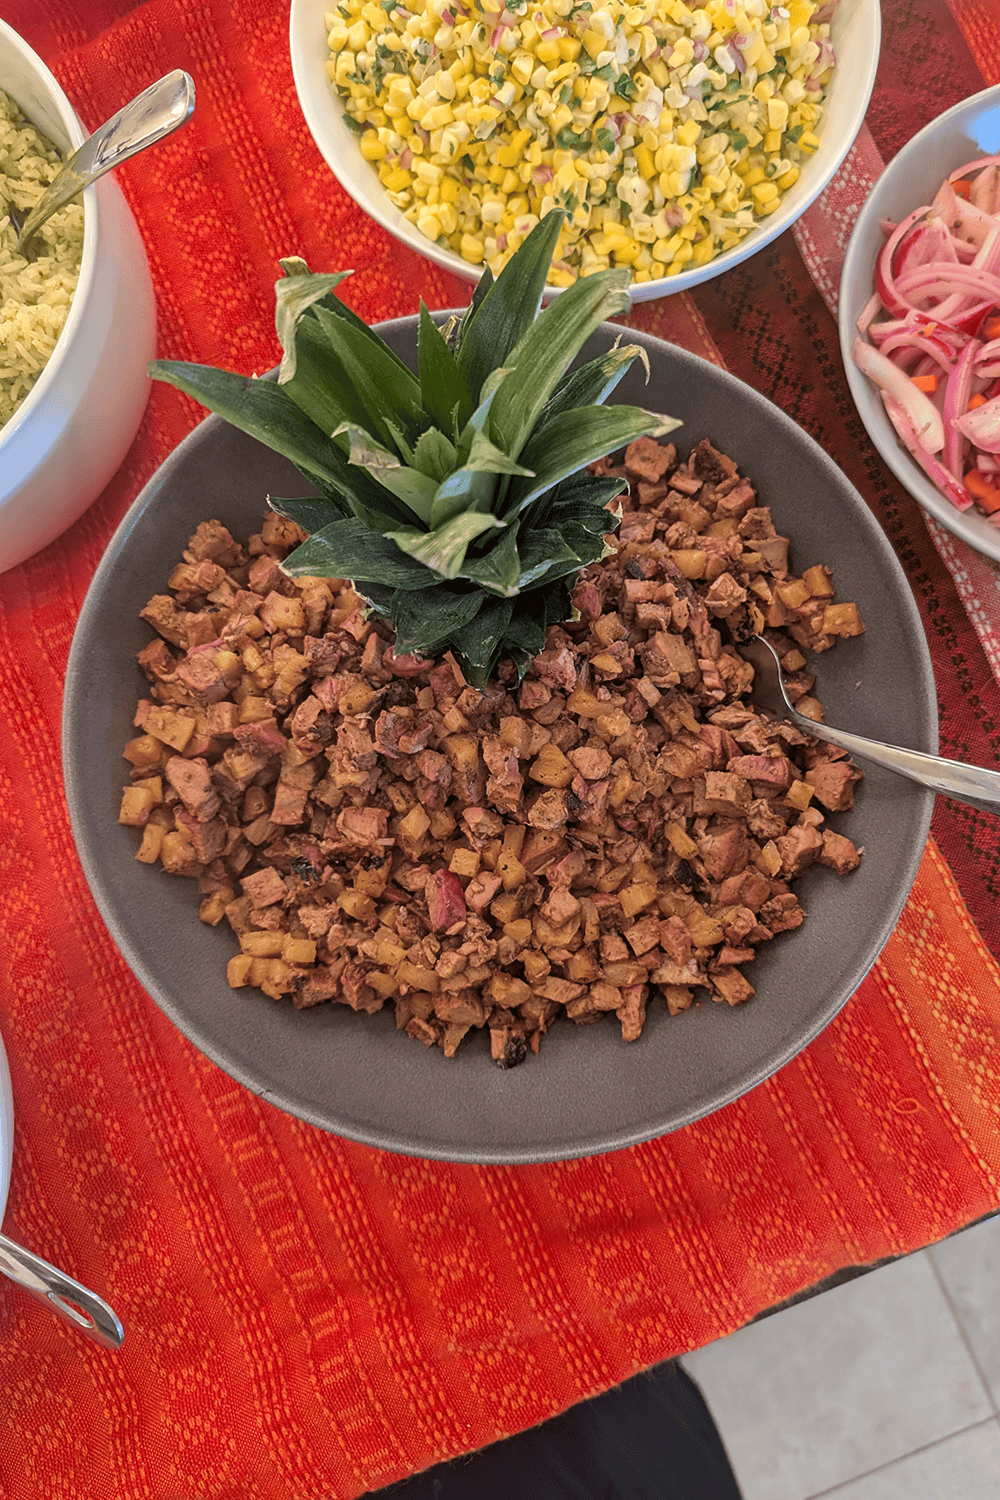
Here, I focus on dried ancho chiles as the base of the marinade and add fire-roasted green chile to the mix of grilled pork and pineapple. Feel free to add sour cream, cheese, or avocado if you want, but simply topping it with cilantro and onion gets the job done.
Grilled Pork and Pineapple Tacos with Ancho Chile Marinade

A vibrant summer recipe inspired by Tacos Al Pastor—these Grilled Pork & Pineapple Tacos feature an ancho chile marinade, charred pineapple, and roasted green chiles for a flavor-packed twist on tradition.
- Prep Time: 1 hour
- Cook Time: 30 mins
- Total Time: 1 hour 30 minutes
- Yield: 6-8 servings
- Category: bbq
- Method: grilling
- Cuisine: Mexican
Ingredients
for the marinated pork
- 6 dried ancho chiles, stemmed and seeded
- 6 cloves of garlic, peels left on
- 2 t. high desert herbs or oregano
- 2 t. kosher salt
- 1 t. ground coriander
- 1/2 t. ground black pepper
- 1/2 t. ground Mexican canela or cinnamon
- 1/4 c. apple cider vinegar
- 1/4 c. olive oil or vegetable oil
- 1 T. agave or honey
- 1/4 pineapple, peeled, cored, and sliced
- 2 lb. pork shoulder or pork tenderloin, sliced into 1/4” slices
for the tacos
- 5 fire-roasted New Mexico green chiles, ananehim, or poblanos, stemmed, peeled, seeded, diced
- The remaining 3/4 of the pineapple, cut into wide slices
- 1 medium white onion, minced
- 1 bunch of cilantro leaves, minced
- warm corn tortillas
Instructions
First, let’s make the marinade:
In a large skillet over medium heat, toast the chiles for around a minute on each side, pressing them with tongs or a spatula until their oils are activated (they will smell amazing!) and their skins soften. Place them in a bowl and cover them with hot tap water for 15 minutes, and then drain them. While the chiles are soaking, place the garlic in the hot, dry skillet and toast until the skins start to darken on all sides and then turn off the heat and transfer to a bowl. When they are cool enough to handle, peel the garlic cloves and add them to a blender. Also, to the blender, add the rehydrated chiles, dried high desert herbs (or oregano), salt, coriander, pepper, canela or cinnamon, apple cider vinegar, oil, agave or honey, and pineapple slices. Blend until smooth. Spread this marinade over the pork slices and refrigerate overnight.
Grilling and assembling the tacos
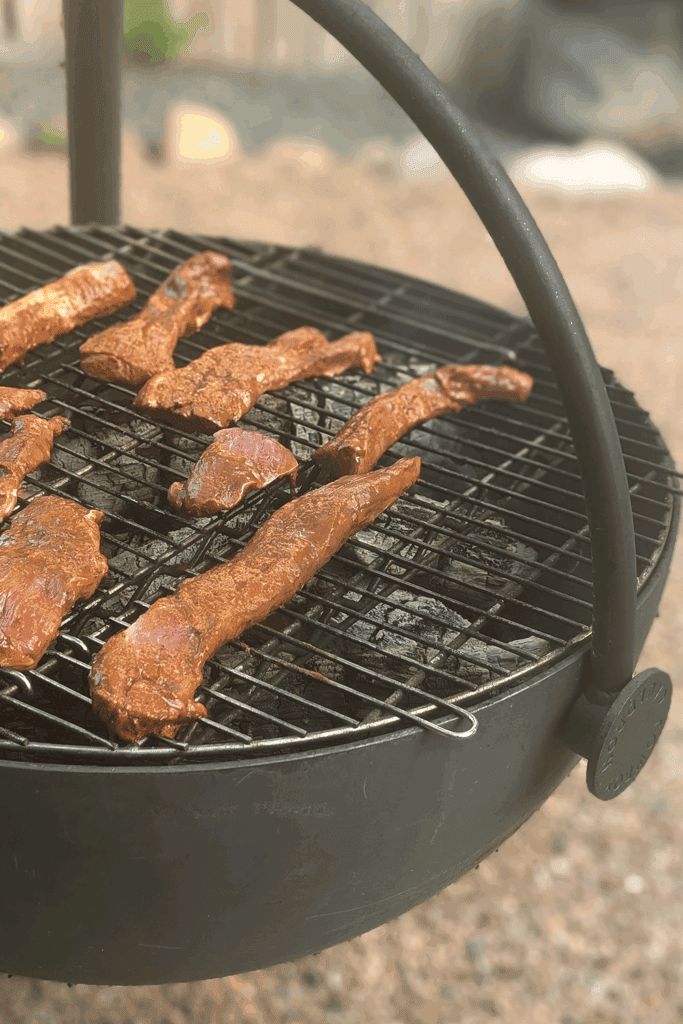
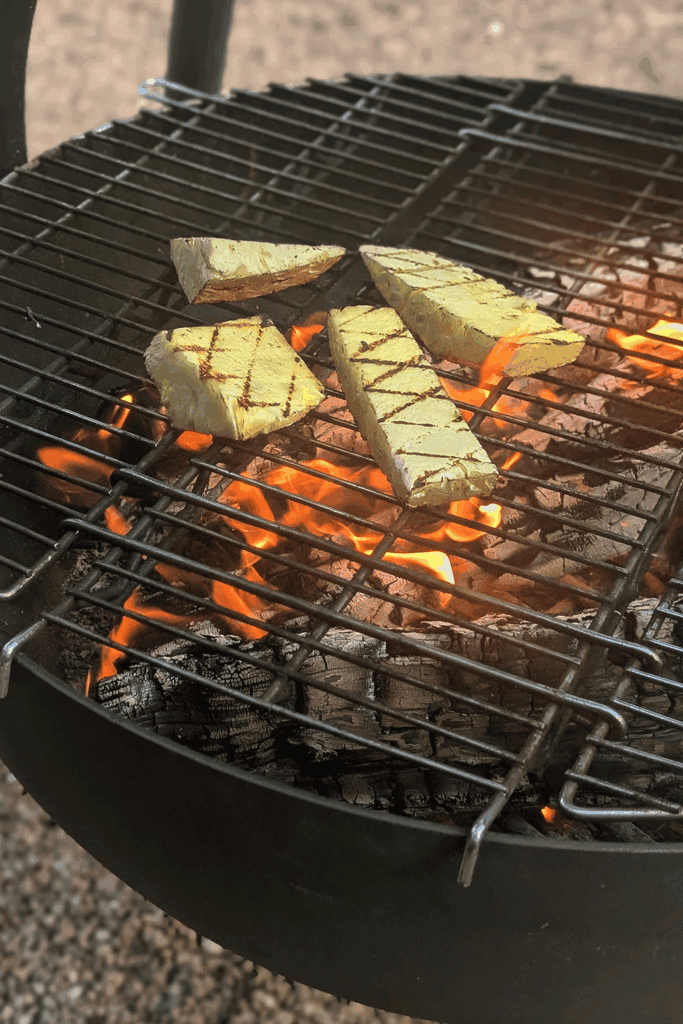
Heat your coals in the cauldron to a medium-high heat. Grill the pork until it’s cooked through on both sides, by sight or to an internal temperature of 145°F. Let rest, chop into pieces. Also, grill the pineapple until it has some nice char on both sides. Carefully transfer the pineapple to a cutting board, chop it, and add it to the bowl with the pork. Stir in the fire-roasted green chile. Serve warm tortillas, onion, and cilantro on the side.